Tuesday, January 18, 2011

Fun With Fairies


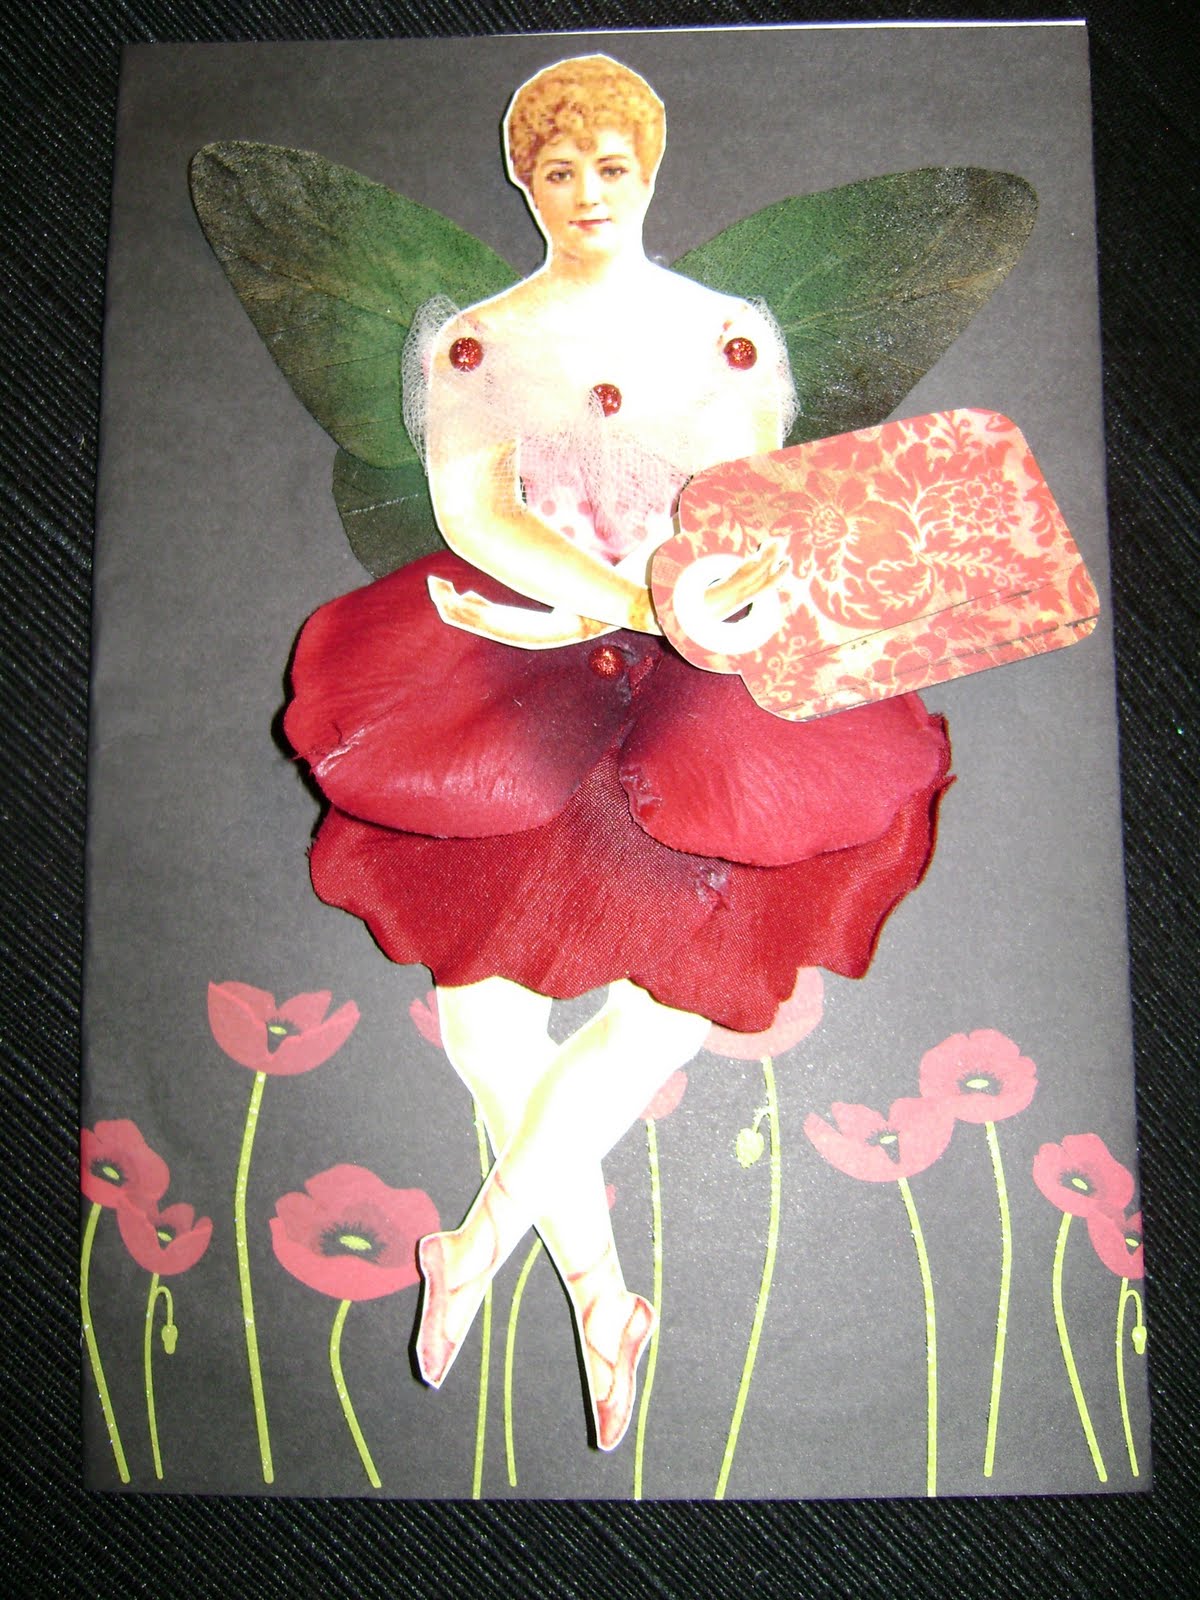
Janet from my Sketchbook Group introduced us to this fun website where you can go to generate your very own fairy name: www.emmadavies.net. I immediately began to play with it by plugging in my name and friends' names to see what their fairy names and descriptions were.

The top two photos are "Bracken Reedglow." This is Gretchen's fairy name and I created my next inspiration card for her featuring her fairy. The prompt "the imagination of others when it inspires your own" seemed fitting. After all, it was Janet who introduced me to the fairy name website and seeing pictures of the fairies Janet had made inspired me to create these beauties.

The fairy in the bottom two photos is "Meadow Elffilter." She adorns the card I made for a classmate who is celebrating a birthday this month. My classmate loves the color red, so she will be tickled to see her fairy wearing a red petal dress!

Thursday, January 13, 2011

Healing

I chose the word prompt "Healing" for this round. Robin had to face an unexpected loss recently and I wanted to send healing thoughts her way with this card.

I began with a vision of a heavy heart. I took a sheet of metallic sticker paper (Mrs. Grossman's) and placed it onto cardstock to give it some body. Then I free-hand cut out a heart shape. I ran the silver heart through a crimper (it was actually little embossed hearts) to add some texture. Rather than just gluing the heart to the card, I decided to make it more 3D by giving the heart a mountain fold in the middle. I secured the bottom part of the heart with eyelets and then fashioned a small mount out of cardstock to give the upper part of the heart some lift off the page.

Though I liked what I had created, the heart took on a more cold and industrial feel--almost reminded me of a steel shield. It needed something else to soften the feel if this was going to convey the message I intended for Robin. I shared my dilemma with Su who wisely suggested I add fiber to soften it up.

A few months ago, Sox had made these fabric rosettes using scrap fabric which she gave to each of us who participated in the Marie Antoinette folder swap. I used Sox's creation as my inspiration for the scrap ribbon rosette I made to soften the heart. It was the perfect touch!

Saturday, January 8, 2011

The Inspiration Card Round Continues...

This is the inspiration card I made for Val. Teri (one of my Sketchbook Sisters) took this image and cleaned it up for us to use. I wanted to use her for the prompt "Growing Wings on the Way Down." I started by printing the angel on white cardstock. To give her more depth, I printed another copy of the angel onto vellum. I then cut out just the wing leaving a tab and then tucked the tab into a slit I created along the line of her right arm. I crinkled and folded the vellum wing to make it stand up and out. I embellished her gown and her wings with glitter glue for some sparkle.

Now, I understand that Val is into astrology and that she is an Aquarius. That gave me the idea to put water jugs in her hands because Aquarius is the "Water Bearer." The card still needed a little something more, so I added a star in the heavens above her and then cut out the symbol of Aquarius in the lower left hand side.

Friday, January 7, 2011

Guilty Pleasures


I have had DebZ's "Joy" book in hand for the past two months...what to, what to do. The topic was so broad, I found it hard to focus in on a particular idea for her book. There were a few things that helped me come up with the idea for this spread. First, I began to think more "Guilty Pleasures" than "Joy." Then when I looked that the pages that followed the last spread in her book--the ones available for me to work on--I saw a two-page spread decorated with illustrations of hands. This got me thinking about how one of my guilty pleasures is to treat myself to a new nail polish color :-)

I haven't counted how many bottles of nail polish I own (it's a lot). I use some for my artwork--especially the colors with glitter. It's like glitter paint with its very own brush! Most of my polishes, however, are deep, luscious and deliciously dark colors. No pastels here!

Now about this spread. For the background, I decided to type up a list (comprehensive, but by no means complete) of OPI nail polish names. They are clever, like a play on words (MAC make-up and Ben & Jerry ice cream names are pretty entertaining too). Once I had the list of names, I ran it off on two pages of vellum and used that for my background. The transparency of the vellum allowed the hand illustrations already on the page to show through.

Then, I used a picture of a hand with clear polish (from the OPI website) and a mirror image copy of it to create the two hands you see on the page. This pair of hands served as the template for the nail polish colors. I then took transparencies created three overlays per side. One overlay is taped to the top side of the page, one to the side of the page and the third to the bottom of the page. I took the first overlay and painted each nail a different color and repeated this process for the remaining overlays. In all, I had a total of 30 nail polish colors on the 6 overlays.

And to finish it off (cuz it just wouldn't be me without this), I added some bling by giving each overlay a piece of jewelry. Two of the overlays have rings and the remaining overlays have bracelets. Fun spread!

Sunday, January 2, 2011

Secret Santa 2010


Happy New Year! It was a very hectic last part of the year and I haven't been able to post to my blog or do much artwork lately. But I did want to post pictures from a Secret Santa exchange I participated in. Some of my on-line art buddies (the Sketchbook Sisters) decided to do a Secret Santa exchange. My Secret Santa was Janet and she made me the most adorable Empathy Monster, a vintage Christmas domino trinket and a lovely bookmark.

While visiting Teri's blog (www.quinceberry.blogspot.com), I found out that her favorite colors were aqua and yellow. For my Secret Santa gift to her, I decided to make a pretty bracelet using those colors. I took large gold safety pins and strung a variety of aqua colored beads onto them. The beaded safety pins were then slipped onto a band of wide elastic. Once the safety pins filled the elastic band, the bracelet was done. Teri loved it!

Also on Teri's blog, I found pictures of a beautiful portrait Teri had painted. I ran off color copies of her portrait, varied the sizes and then cut them up into smaller squares to fit 1" flat-back glass marbles. I then glued magnets to the backs to make a set of six marbles.