For this month's chunky challenge, we had to pick a body part and incorporate it into our pages. I chose mouths/lips and decided to showcase them by creating a window. Can't wait to see what body parts the other players will feature...
Monday, March 17, 2014
Tuesday, March 11, 2014
Origins of Man
OK, I sort of cheated with this month's spread in this Origins of Man book. Her theme really stumped me and I was quickly running out of time to finish her book. Thankfully, the monthly challenge in the on-line class I am taking with Lisa Vollrath gave me an idea! She wanted us to incorporate a folded page into a spread. The idea is for the folded page to "hide" an element that is later revealed when you turn it.
Inspired by words from (of all things) a Barbra Streisand song, I ended up with a tongue-in-cheek interpretation of the sperm and the egg. The first page (folded on the right) reads "eye on the target and..." When you turn the folded page, a "surprise" is revealed--WHAM!
It may be a little hard to see in these pictures, but I used a glue gun to create the sperm and was quite happy with how they turned out. The egg was created from a piece of tyvek that I heated and spray painted purple. When I showed my finished spread to my husband, he was embarrassed for me to present this book at the monthly meeting. I admit that I was more than a little nervous to post pictures on-line and have Lisa critique my piece for the class. Luckily, she found the humor in my work and that gave me a huge sigh of relief. Now we will have to wait and see if the book's owner shares my sense of humor!
Sunday, March 9, 2014
Hearts Made With Love
Pam and I collaborated to make these door hanger hearts for mutual friends who had recently both lost their mothers.
I first saw these hearts when my mother-in-law passed away in hospice. The staff quietly left our family to spend some time alone with her. When we emerged from her room, I found these fabric hearts hanging from the door knob. A quote was suspended from the heart that read "May this heart, made with love, bless the one receiving it. May you feel the strength, courage and peace it sends." It was a small gesture that touched me greatly.
To make these hearts for our friends, we selected papers in colors and materials that their moms would have loved. Pam had photos of both moms which we cut and glued into the center of the hearts. We strung coordinating beads and a quote that read "May absolute peace gently descend" onto a piece of ribbon. These hearts are a beautiful way to remember loved ones we have lost.
Saturday, February 22, 2014
The Moon and the Madonna...
What an intriguing book theme...the Moon and the Madonna. It conjures up visions of religious icons. Indeed, the previous work in this book centered around this type of imagery.
Being a Moon Child, I was more drawn to the "moon" part of the theme. In a previous moon-themed book, I had played with the texture of heated Tyvek to create the lunar surface. I didn't want to repeat that here.
I remembered a day back in September when a few art friends and I got together and played with Citrasolv. We took National Geographic pages and saturated them with the solvent. In time, our pages morphed into glorious cosmic backgrounds. I pulled out the pages I had made and found a set that reminded me of Carl Sagan's Cosmos. It would serve as the perfect "universe" upon which I would place my moon.
But what to do with the moon? I thought of the Man in the Moon and that led me to picture Madonna in the Moon. For some reason, I thought of the iconic image of Cher in the Moonstruck movie poster. Cher in the Moon.
For fun, I created a "flip" moon page so I could feature both Madonna in the Moon as well as Cher in the Moon. So here it is--a fresh take on the Moon and the Madonna theme. What do you think?
Friday, February 21, 2014
Four Quarters Page Challenge
Here is my piece for the February page challenge in the on-line Altered Book class I am taking. I was surprised at how long it took me to #1 find an image that I wanted to work with and #2 gather the proper design elements for the challenge. Images were either too big or too small. I didn't have the right color or pattern tissue paper. After pouring through too many magazines to count, I finally came across this image of Marilyn Monroe in a NYC gallery guide a friend had given to me and decided to build my challenge page around her photo.
I gessoed my
pages and painted them white. I placed
torn pieces of black and white damask patterned tissue paper in diagonally
opposing corners. I temporarily placed
Marilyn in the lower left hand quarter as I played with the rest of my
layout. Initially, I was going to use a
luscious red satin ribbon to frame my page, but it was too wide and ultimately
too “heavy” for this page. After some
digging (more like excavation) I found this rhinestone trim which I was able to
cut down to the perfect width. I used
two strips along the top and bottom to frame my piece.
By now, I was
happy with where I had originally placed Marilyn’s photo, I put the image on white cardstock and gave
it a small margin which made it look like an old black and white photo. I secured the bottom with double-stick tape
and used foam mounting strips for the top of the photo for added dimension.
For my text, I
wanted to experiment with the re-positional nature of placing text onto deli
paper and using it as a collage element.
Since I didn’t have any deli paper, I printed my text onto tracing
paper. I chose a font that went with the
overall feel of the page—romantic, dreamy, classic. I placed the text in the remaining quarter
and affixed it with liquid matte medium.
For that
something extra to tie everything together, I gave Marilyn a diamond necklace
and bracelet (Swarovski crystals). I
used a rhinestone flourish to connect the photo to the text. I couldn’t resist adding a red lipstick kiss
(sticker) for a punch of color.
Tuesday, February 18, 2014
Chunkies Are Back!
After a brief hiatus, I am happy to announce that chunkies are back! To get us started, our theme for February was Valentines, Hearts & Love.
I decided to use up some of the text pages that I have removed to thin out several of my altered books. I took out my Big Shot and started making lots and lots of heart shapes. I took seven hearts and folded them in half to create a 3-D heart. I secured four of these 3-D hearts to each of my chunky pages with brads. I added just a hint of color to the edges of my hearts with an inkpad. Of course, my pages would not be complete without a little bling or hardware, right? So, I selected a heart-shaped charm which I suspended on a chain anchored between two of the hearts.
Sunday, February 16, 2014
A Sunday Spent Boiling Books
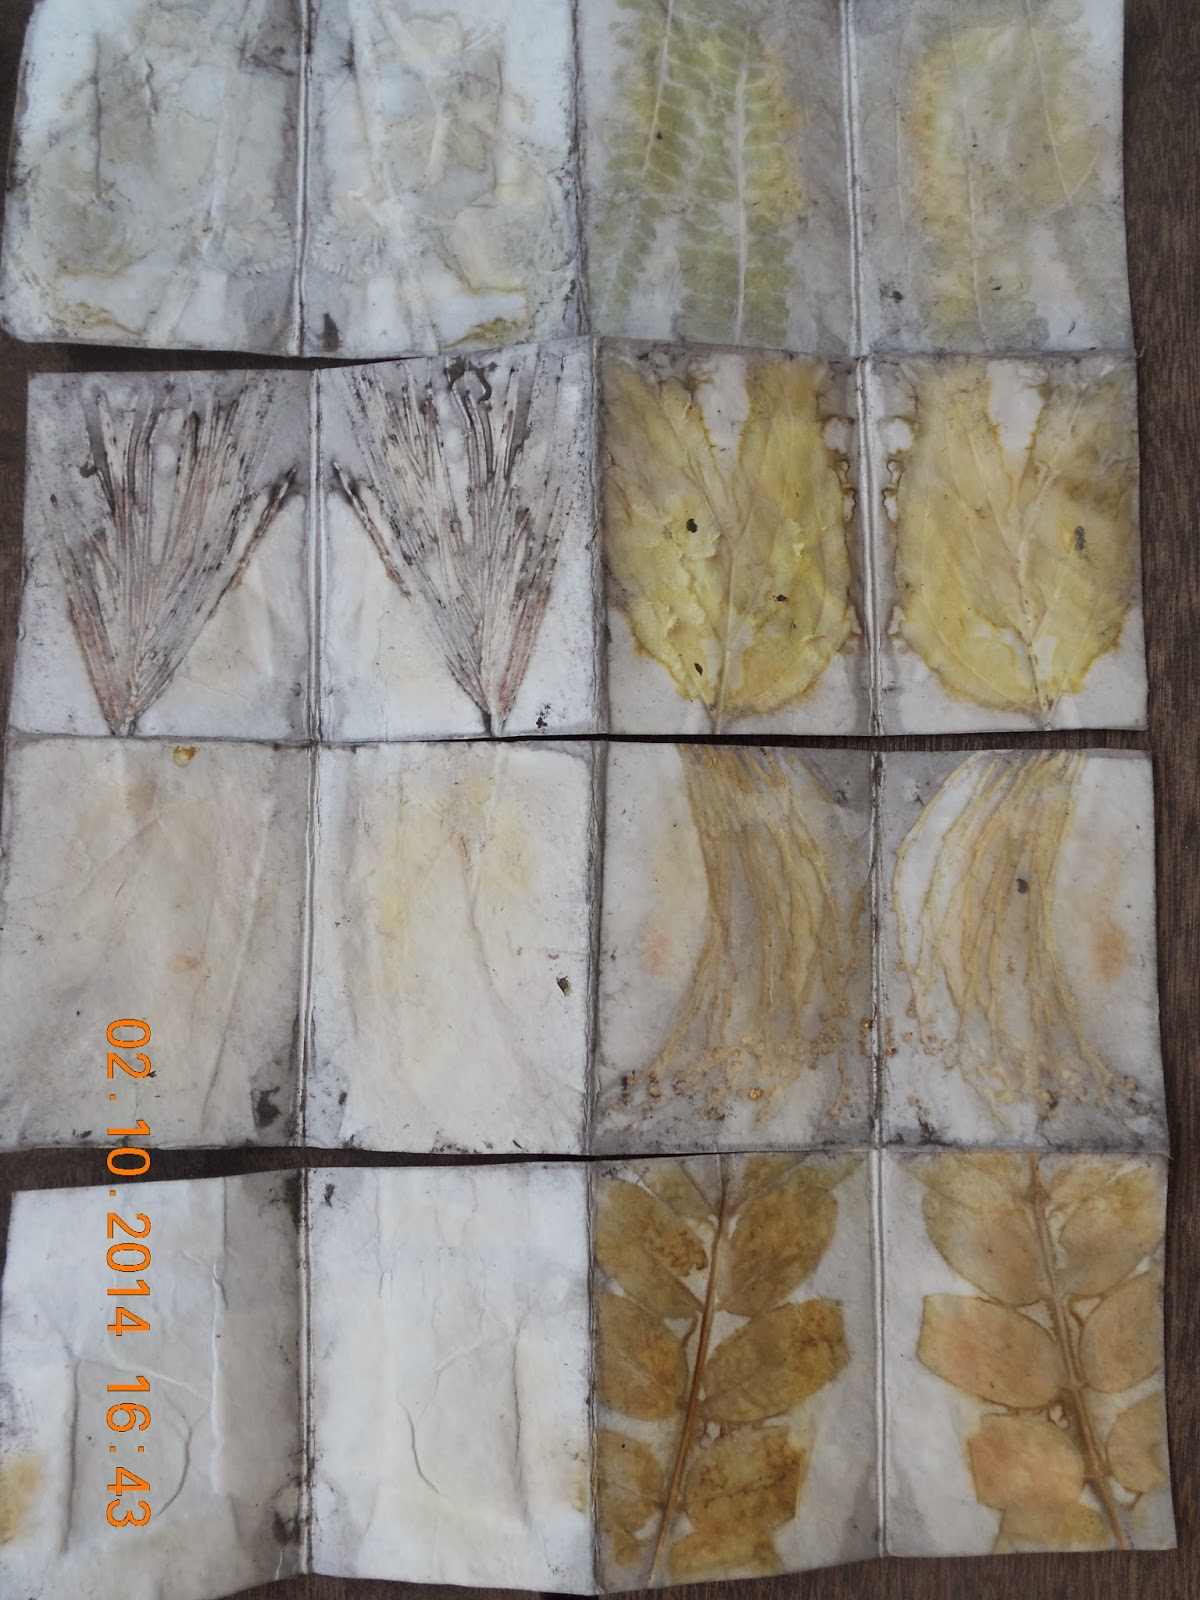
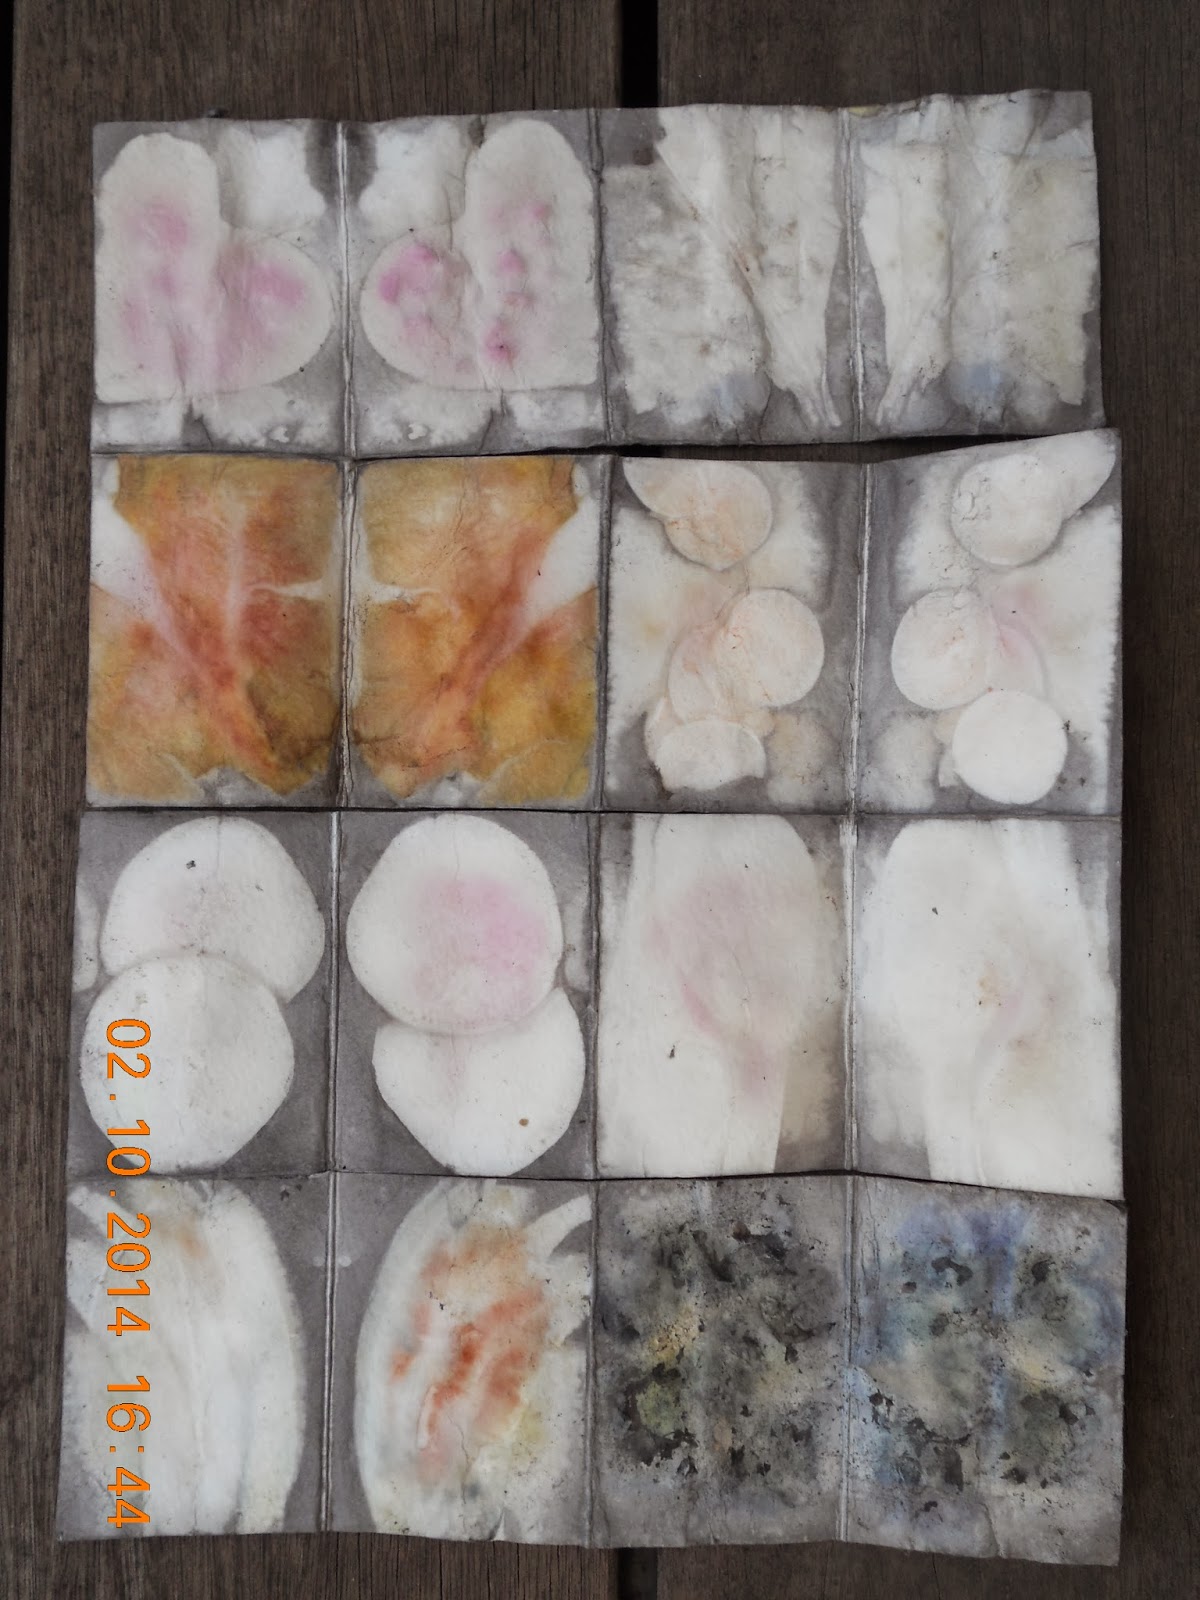
Last weekend, I spent the day with art friends making two batches of boiled books. We each gathered and brought plant material to share. We even had a food section that included carrot, sweet potato, beets, baby bok choy, red onion, yellow onion skins, blueberries and pomegranate!
Opening your books after boiling is a lot like Christmas because with this process, you never quite know what plant material will leave color or texture.
This is how my four books turned out
(front and back):
I just love how the color and texture came out on some of the pages:
I started making covers for my boiled books. The two on the left are covered with distressed looking scrapbook paper. The two on the right are covered with handmade papers that I embossed.
I used the Artistcellar "Seafoam" stencil to emboss the brown cover on the left. I used an embossing folder to emboss the green cover on the right.
Subscribe to:
Posts (Atom)